Archiving & Setting up a New Year
Mere Bookkeeping is designed to track a single year within a workbook. There are two methods for starting a new year:
Method 1: Move to the Latest Version
Get the latest templates to setup a new year from scratch. Setup your new year by following the instructions on the Welcome sheet and User Guide (though, you can copy/paste a lot of your settings, funds, accounts, contacts to speed things up).
Learn how to migrate from an old version to a new version.
Method 2: Copy your Existing Workbook
Create a copy of your current workbook (if you don't want the latest version of Mere Bookkeeping, or if you're already using the latest version).
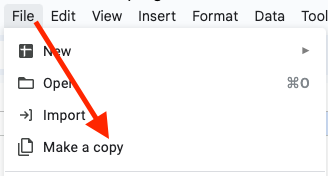
Click File > Make a Copy in the Google Sheets file menu.
Rename your new workbook with the appropriate year in the file name. Click “Make a Copy”.
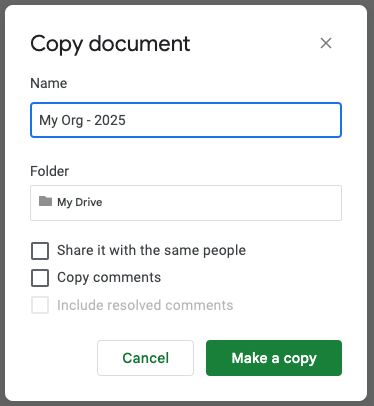
Your new, copied workbook will open in a new window.
Go to the Journal sheet and highlight all rows with transactions (not your header rows) and click delete (remember, this is a copy, so you still have last year's transactions in the original file).

Update Settings
Next, go to the Settings sheet and update your fiscal year start date. You'll also need to copy the new URL for your Journal and paste it in the Journal URL setting (if you don't, the Jump to End link in your new Journal will take you to your prior year Journal).
Carry Forward Fund Balances
Then, update your Funds sheet by bringing forward the ending balances from the prior year (see your Fund Balances report from the prior year workbook).
Update Account Groups, Accounts, Budgets
Make any edits to your account groups, accounts, and budgets for the upcoming year.
Housekeeping
The next thing you may want to do is a little housekeeping on your contacts. Clear any you don’t expect to need anymore, then re-sort by name.
Share Reports (again)
You'll also need to share any reports in your new workbook that you previously shared with others (generating new share URL's).
Finishing Up
And with that, you’re ready to start entering transactions for the next year!
Whichever method you choose, you'll still end up with a new workbook for your new year. This means your workbook from the prior year will remain as an archive.